Have you been figuring out how to improve your Linux server’s networking performance?
There are plenty of tweaks that can be done to optimize your Linux machine.
Here, we are going to discuss one such tweak to decrease your DNS lookups by installing the dnsmasq.
Dnsmasq is a light-weight DHCP and DNS caching nameserver. It’s much easier than setting up the BIND, and your DNS queries would get more faster.
Let’s go through our tutorial of how to install and configure dnsmasq.
Installation
Open up your terminal window and type the following command
sudo apt install dnsmasq
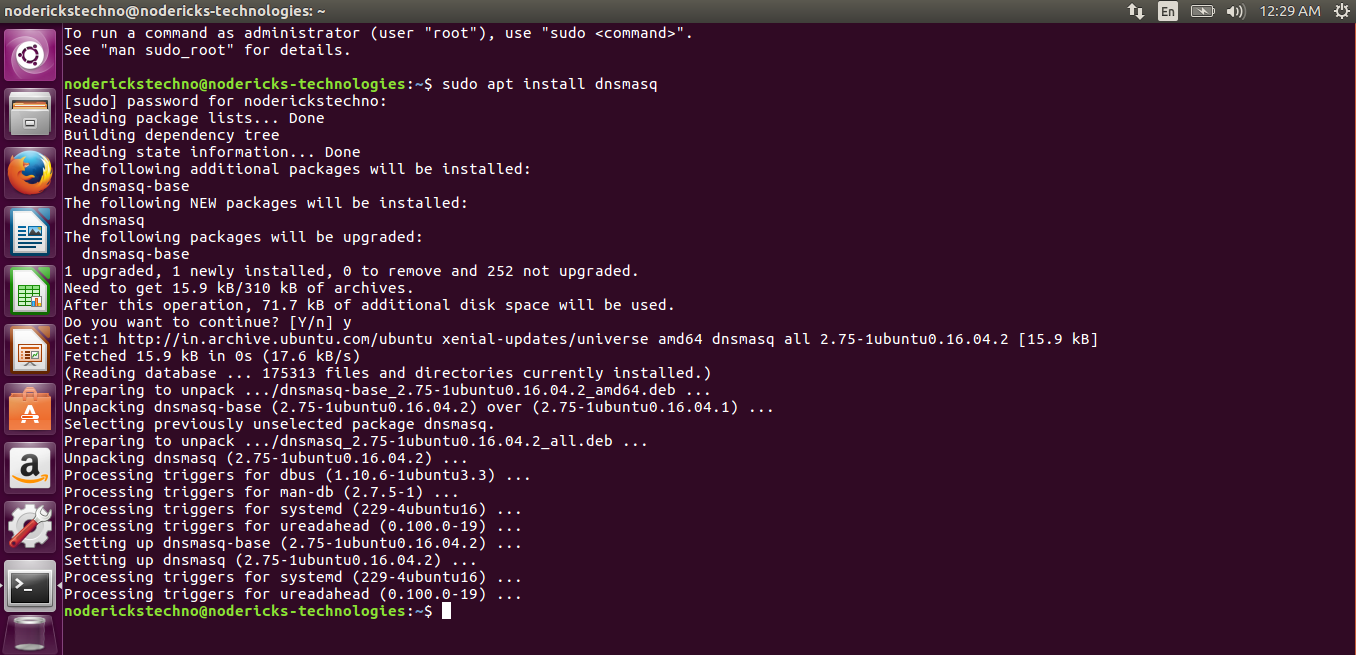
dnsmasq installation
Dnsmasq is now installed on your server.
Configuration
a. Open the file /etc/dnsmasq.conf in any text editor, and find the line:
#listen-address=

dnsmasq-configuration
And, change the above line to :
listen-address=127.0.0.1
If required, you can also increase the dnsmasq cache size. In that case, you need to find the line #cache-size=150. Remove the # and change 150 to any higher value until 10000 as per the available server resource. By increasing this value, your dnsmasq would be able to cache more names.
b. Save and close the file.
c. Then open the file /etc/dhcp/dhclient.conf.Find the line #supersese domain-name “fugue.com home.vix.com”, and take note if the following section matches it
prepend domain-name-servers 127.0.0.1;
request subnet-mask, broadcast-address, time-offset, routers, domain-name, domain-name-servers, host-name, netbios-name-servers, netbios-scope;

dhcp-dhclient
d. Save and close that file
e. Lastly, open the file /etc/resolv.conf and take note if it includes the following line:
nameserver 127.0.0.1
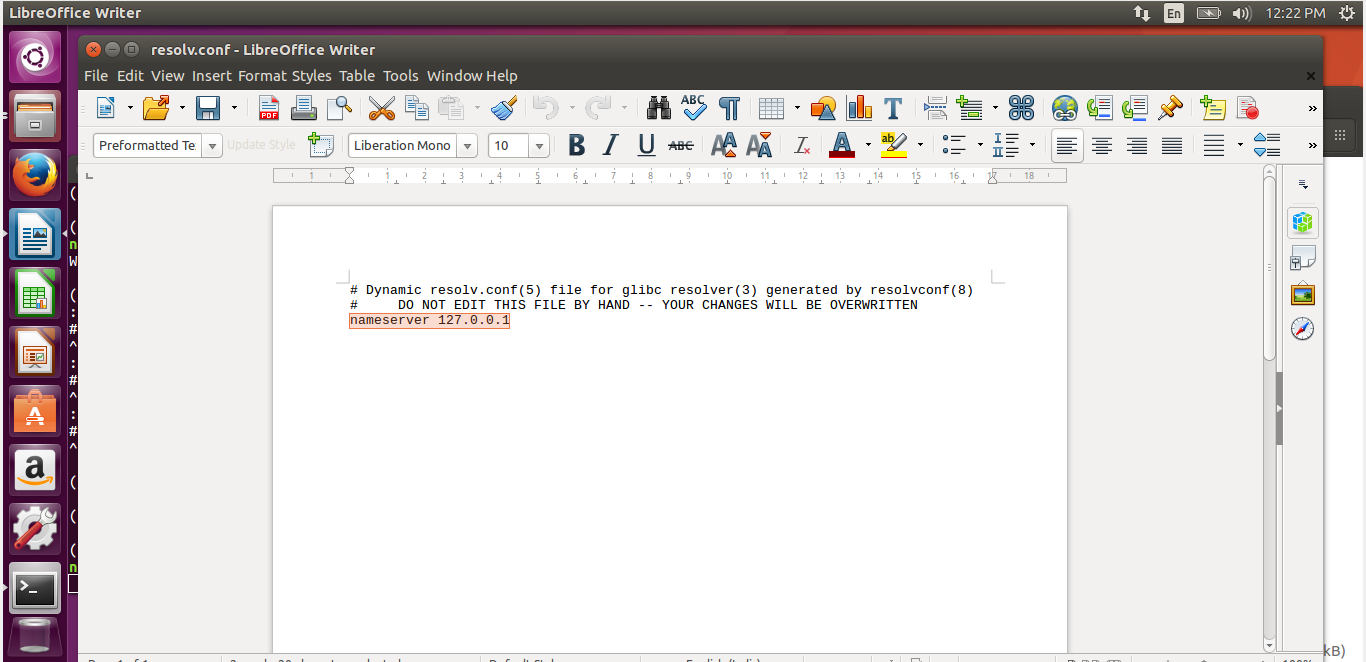
nameserver-linux-dns
f. Restart your dnsmasq service with the following command-
sudo service dnsmasq restart
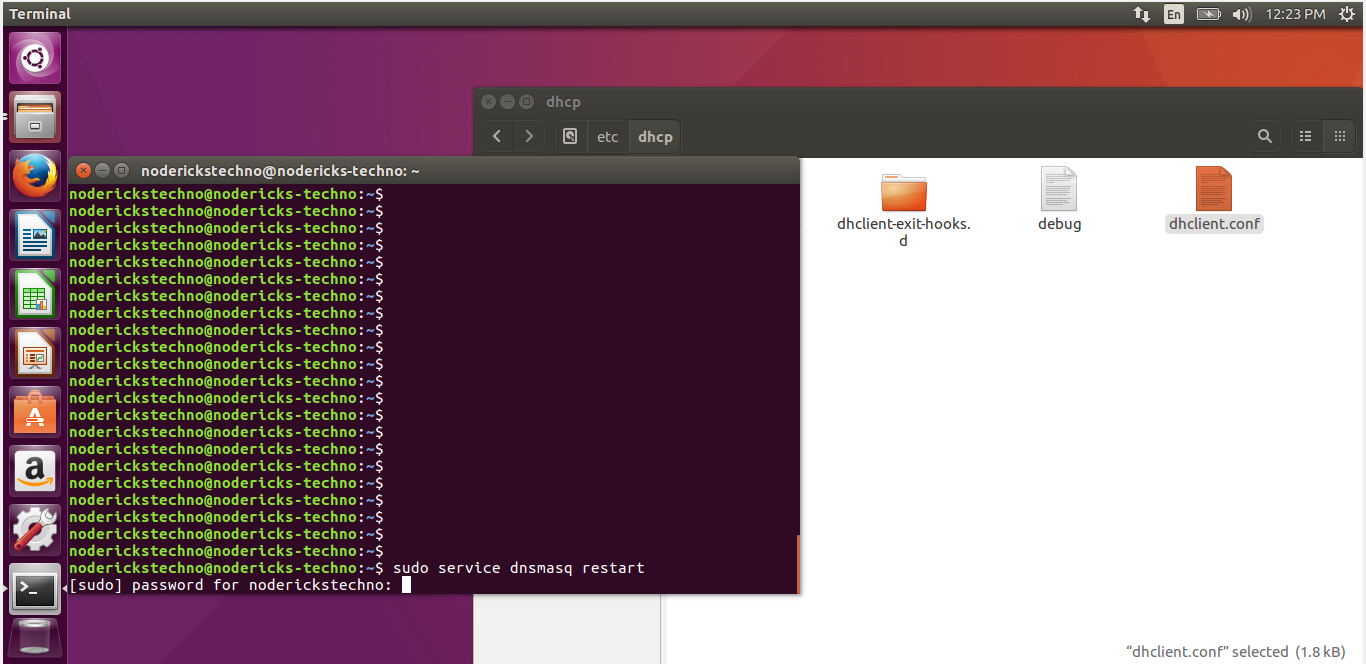
dnsmasq-restart
Then you are good to go!
Testing Dnsmasq
Testing Dnsmasq
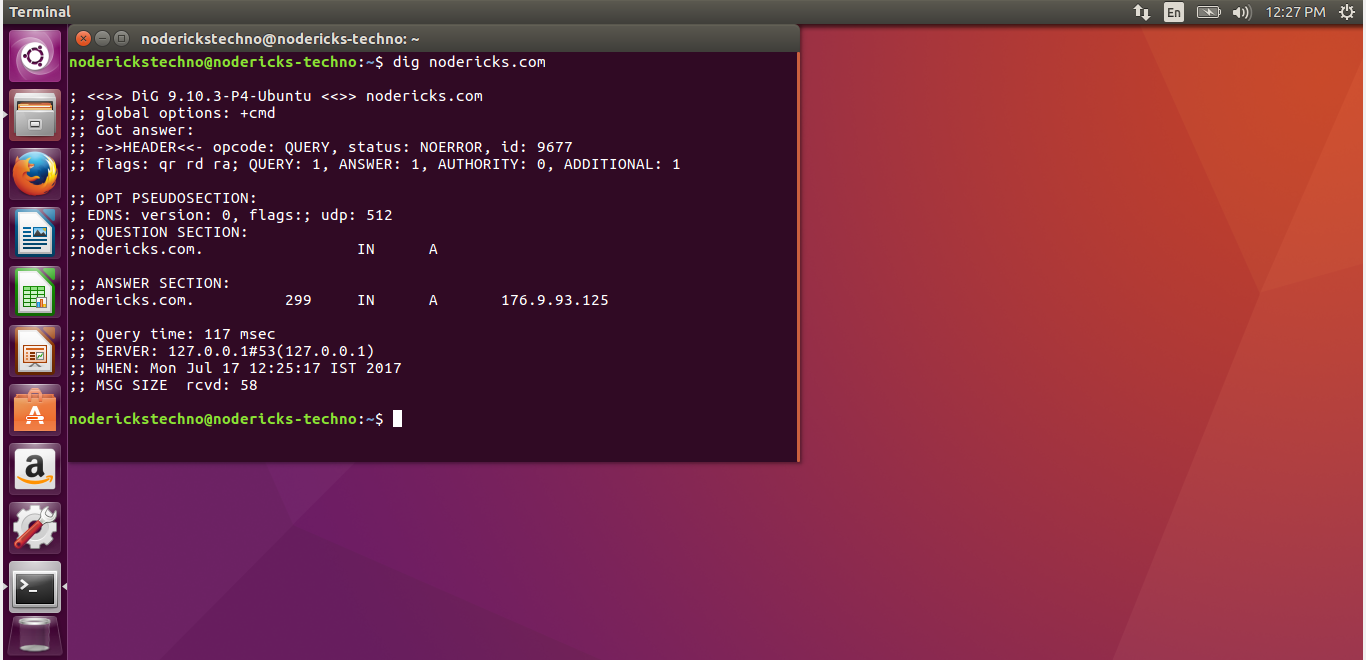
For testing the results, you could try the command
dig (your url)